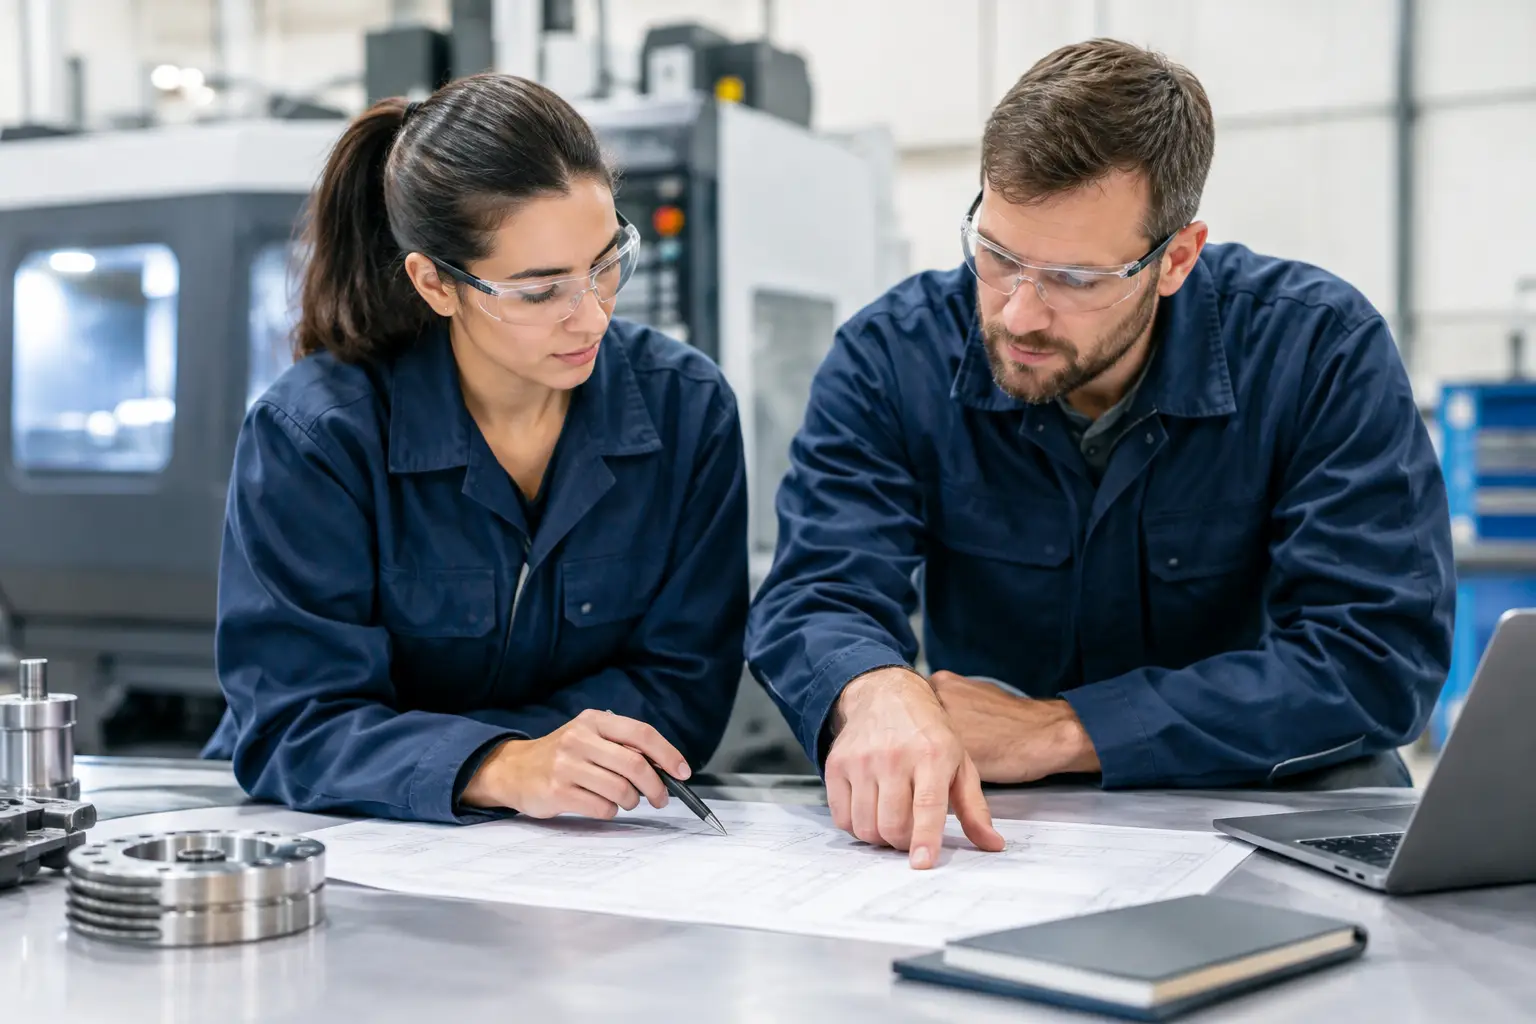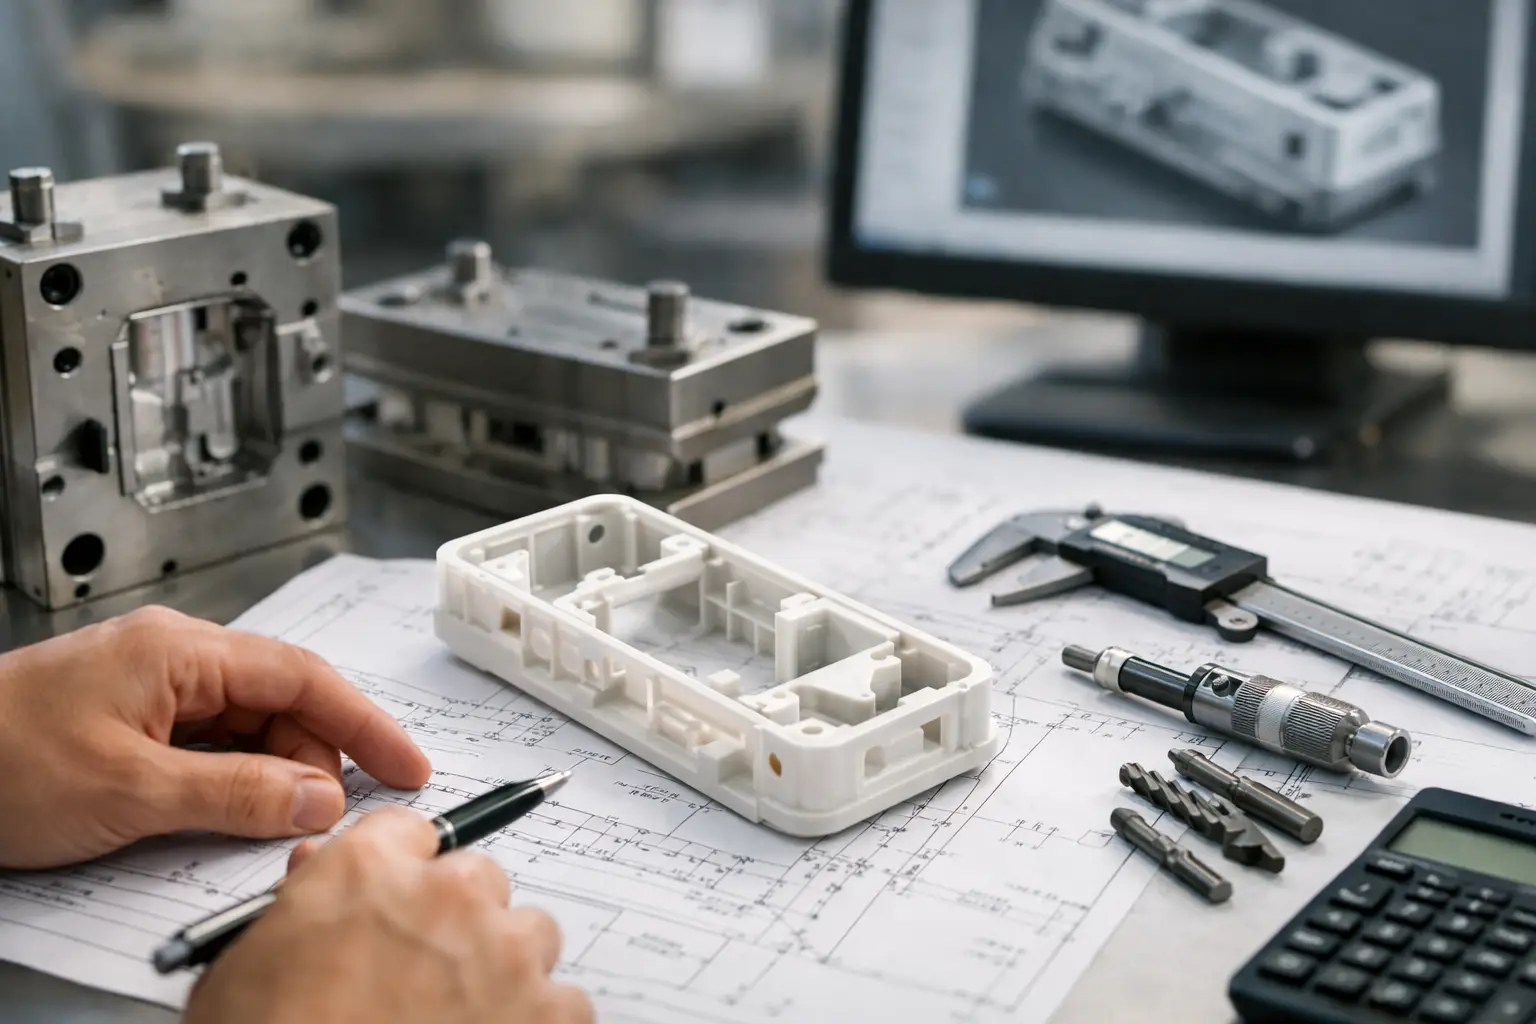
A product can look simple on paper and still require significant manufacturing investment. The reason is often tooling: the molds, fixtures, dies, gauges, and production aids needed to make the same part accurately thousands of times. Learning to estimate tooling costs early gives inventors and product founders a clearer view of what it will take to move from a functional prototype to a product that can be manufactured reliably.
Tooling is not a single line item with a standard price. A plastic enclosure, metal bracket, consumer device, or electromechanical assembly may need very different tools depending on its design, production volume, material, tolerances, and factory process. The goal is not to guess one perfect number at the idea stage. The goal is to identify the right manufacturing path, build a realistic budget range, and avoid design decisions that create unnecessary costs later.
Estimate Tooling Costs Before You Commit to Production
Early prototypes are made to prove that an idea works. Production tooling is made to prove that the product can be produced repeatedly, at an acceptable cost and quality level. Those are separate objectives, and confusing them can lead to expensive surprises.
For example, a 3D-printed prototype may validate the size, user experience, and basic assembly of a handheld product. That does not mean the same geometry is ready for injection molding. A moldable version may need consistent wall thickness, draft angles, fewer undercuts, reinforced screw bosses, and changes that allow the part to release from the mold. Each decision affects the tool design and the cost of the finished part.
Before requesting formal quotes, define what you know about the product: its intended material, approximate annual volume, target selling price, key functions, visual requirements, and expected market life. A factory cannot provide a meaningful tooling estimate if the production assumptions are still unclear. A good engineering review can turn those assumptions into a better manufacturing plan.
What Counts as Tooling?
Many first-time product developers hear the word tooling and think only about an injection mold. Molds are often the largest cost for plastic products, but tooling can include much more.
For molded plastic parts, the tool may include the mold base, cavities, cores, slides, lifters, inserts, cooling channels, and ejection components. If the product has several molded parts, each part may require its own mold. A simple two-piece housing can therefore involve two separate tools before considering buttons, clips, seals, or internal supports.
Metal products may require stamping dies, forming dies, welding fixtures, machining fixtures, drill templates, or inspection gauges. A sheet-metal enclosure made in low volume might be laser cut and bent with minimal dedicated tooling. At higher volume, progressive stamping dies can reduce the per-part cost substantially, but the initial investment rises.
Assembly tooling also matters. Fixtures hold parts in the correct position while workers or automated equipment install screws, apply adhesive, solder components, press-fit inserts, test electronics, or verify alignment. These tools may be relatively inexpensive compared with a steel mold, yet they often determine whether a product can be assembled consistently.
The Main Factors That Change Tooling Cost
The most useful way to estimate tooling costs is to understand the decisions that drive them. Tooling expense is rarely random. It is a direct response to product geometry, manufacturing volume, quality expectations, and production risk.
Production volume and tool life
Volume is one of the biggest variables. A short production run may justify soft tooling, such as aluminum molds or limited-life tools. These can be faster and less expensive to build, but they may not hold up for very high quantities or demanding materials.
A high-volume consumer product may require hardened steel tooling designed for hundreds of thousands or millions of cycles. That raises the upfront cost, but the investment can make sense when it lowers the unit price and maintains quality over a long run. There is no universal answer. A product expecting 2,000 units needs a different approach than one forecasting 200,000 units per year.
Part geometry and cosmetic requirements
Simple parts are generally easier to tool than parts with deep ribs, thin walls, tight corners, textured surfaces, intricate details, or multiple undercuts. Undercuts often require slides or lifters inside an injection mold, which add complexity, maintenance needs, and cost.
A cosmetic surface can also change the estimate. A hidden internal component can tolerate more visible parting lines or minor surface variation. A premium consumer-facing enclosure may require controlled texture, polished surfaces, color matching, and careful gate placement to avoid visible marks. Those requirements should be decided before tooling is built, not after the first production samples arrive.
Material selection
Materials influence both the tool and the production process. Glass-filled plastics, for example, can be abrasive and may require more durable mold steel. High-temperature resins may demand specialized tool construction and temperature control. Silicone, rubber, aluminum, steel, and composite materials each bring their own manufacturing requirements.
Material should be chosen for performance, safety, durability, appearance, and cost – not just because it was easy to use in a prototype. A prototype material may be useful for testing but unsuitable for production. This is one reason engineering and manufacturing planning should happen together.
Tolerances and functional fit
Products with moving mechanisms, sealed compartments, electrical connections, snap fits, gears, or precision alignments often need tighter tolerances. Tighter tolerances can require more complex mold construction, secondary machining, inspection equipment, and process control.
Not every feature needs precision-level tolerances. Specifying them only where the function requires them can reduce unnecessary tooling and production expense. A product development team should identify the critical dimensions that affect fit, safety, performance, and user experience, then avoid overengineering the rest.
A Practical Method for Building Your Budget
Start with a manufacturing strategy, not a mold price. Ask whether the product is best suited for 3D printing, CNC machining, urethane casting, sheet-metal fabrication, injection molding, die casting, or a combination of processes. The right method depends on expected volume and the product’s functional needs.
Next, separate costs into three categories: development tooling, production tooling, and recurring manufacturing costs. Development tooling may include prototype molds, temporary fixtures, test jigs, or small-run molds used to validate a design. Production tooling includes the durable tools needed for regular manufacturing. Recurring costs include material, labor, packaging, assembly, testing, freight, scrap allowance, and quality control.
This separation prevents a common mistake: selecting a factory based on the lowest mold quote while overlooking higher per-unit pricing, weak quality controls, or additional assembly tooling. A lower upfront tooling number is not always the lower total project cost.
When reviewing a preliminary estimate, ask what is included. Does it cover tool design, mold flow analysis, machining, assembly, sampling, revisions, texture, testing fixtures, spare inserts, shipping, and trial runs? Does it include the first articles used for approval? If it does not, those items still belong in the project budget.
For early planning, use a range rather than treating a preliminary number as final. A basic low-volume aluminum mold for a relatively simple part may cost several thousand dollars. A production-grade steel mold with multiple cavities, side actions, close tolerances, and cosmetic requirements can reach tens of thousands of dollars or far more. Multi-part products compound the investment quickly. The only dependable number comes after a manufacturer reviews production-ready design files and specifications.
Reduce Tooling Expense Without Weakening the Product
Cost reduction works best before the design is frozen. Once a tool has been cut, even small changes can create expensive delays. A few smart design choices can protect both the budget and the product’s manufacturability.
First, simplify the part where possible. Combining features can reduce part count, but only if it does not create difficult undercuts or impossible assembly conditions. In some cases, two simple molded parts cost less to tool and manufacture than one highly complex part.
Second, design around standard components when they meet the product’s needs. Common screws, springs, bearings, batteries, connectors, and fasteners can reduce custom tooling and shorten sourcing time. Custom components may be justified when they create real customer value or protect a competitive advantage, but they should be a deliberate investment.
Third, validate critical functions before committing to hardened production tools. Functional prototypes, engineering models, and small pilot runs can reveal problems with fit, ergonomics, heat, electrical performance, or assembly sequence. This is especially valuable for products that support a patent strategy, because a well-developed proof of concept can strengthen both technical decisions and commercialization planning.
Finally, do not design only for a low first quote. Design for repeatable manufacturing. A tool that costs slightly more but reduces scrap, assembly labor, warranty issues, and quality failures may produce a better business result over the life of the product.
Work From a Design That Is Ready to Quote
Factories price risk. If drawings are incomplete, materials are undecided, tolerances are unclear, or the assembly process has not been considered, the quote may include large contingencies or miss critical requirements altogether. Neither outcome helps an inventor make a confident decision.
A quote-ready package generally includes 3D CAD files, 2D drawings when needed, material specifications, finish requirements, critical tolerances, expected volume, assembly information, and testing expectations. It also helps to identify which features are essential to the product’s function and which can be adjusted for manufacturing efficiency.
Industry of Concepts helps clients move through this process by connecting product design, prototype development, engineering validation, and manufacturing preparation. That coordination matters because tooling decisions should support the product’s function, market position, and path to commercialization – not merely produce the cheapest first sample.
A well-planned tooling budget does more than prepare you for a factory quote. It gives you control over the choices that shape your product before those choices become expensive, permanent, and difficult to change.