A sketch on a notepad can be valuable. But until it proves that the product works, fits the user, and can be built at a reasonable cost, it is still an untested idea. Knowing how to turn invention into prototype is what moves an inventor from possibility to evidence – evidence for customers, investors, manufacturers, and a stronger patent strategy.
The first prototype does not need to be beautiful. It needs to answer the most expensive questions before you spend serious money on tooling, inventory, or marketing. Does the mechanism work? Can a user operate it safely? Is the core feature truly different? Can the design be manufactured without making the product too costly?
Start With the Problem, Not the Product
Many inventors begin by describing what they want to build. A better starting point is the problem the invention solves and the person who experiences it. A kitchen tool, medical accessory, consumer device, or industrial component may have a clever feature, but the feature only matters if it removes a real frustration or improves an existing process.
Write a simple product brief before moving into design. Explain who the intended user is, what they do today, where the current solution fails, and what outcome your invention should create. Be specific. “Makes work easier” is not a useful engineering requirement. “Allows a technician wearing gloves to lock a fitting with one hand in under 10 seconds” gives a design team something measurable to solve.
This step also helps prevent a common and costly mistake: building every possible feature into version one. Early prototypes should concentrate on the core value of the invention. If a feature does not prove usability, technical function, or market demand, it can usually wait.
Define What the Prototype Must Prove
A prototype is not one thing. It can be a rough physical model, a 3D-printed enclosure, a working electromechanical unit, or a model built specifically for a patent illustration and technical disclosure. The right prototype depends on the decision you need to make next.
A visual prototype is useful when you need to judge size, shape, ergonomics, or presentation. A proof-of-concept prototype is built to verify that a mechanism, material, sensor, circuit, or process can function as intended. An engineering prototype brings those elements together more closely and begins revealing manufacturing challenges.
Trying to make the first model look production-ready can waste time and budget. On the other hand, a rough mockup is not enough when the product’s value depends on a technical claim. The goal is to select the lowest-cost prototype that can produce a credible answer to the next critical question.
How to Turn an Invention Into a Prototype Step by Step
The transition from idea to physical product works best as a controlled development process. Each stage reduces uncertainty and creates information that guides the next investment.
1. Document the invention clearly
Start with everything you know: sketches, notes, photos of comparable products, measurements, user scenarios, and a written explanation of how the invention operates. Do not worry if the material is imperfect. The purpose is to capture the idea before details are lost or changed.
Describe the sequence of use. What does the user do first? What moves, locks, connects, heats, senses, dispenses, or changes? Where can the product fail? These details allow an industrial designer or engineer to see gaps that are easy to miss when the invention only exists in your head.
Keep dated records of your development. Documentation is helpful for managing the design process and can support discussions with patent counsel. However, records alone are not a substitute for a sound intellectual property strategy.
2. Research the market and prior art
Before paying for detailed engineering, examine competing products and patent publications. You are looking for two things: whether a similar solution already exists and whether users appear to have a reason to buy a better alternative.
This research can change the direction of a concept in a productive way. You may find that your original approach is already known, while a particular mechanism, user benefit, or application remains distinct. That insight can improve both the prototype brief and the patent filing strategy.
Do not assume that a product absent from a store shelf is automatically new, or that a published patent means development must stop. Patentability, freedom to operate, product differentiation, and commercial demand are related but separate questions. Professional patent guidance and technical development should inform each other early.
3. Convert the concept into design requirements
A prototype becomes practical when an idea is translated into requirements. This is where broad statements become dimensions, loads, materials, tolerances, operating conditions, and user expectations.
For a physical product, requirements might include maximum size, target weight, expected force, cleaning needs, temperature exposure, safety factors, battery life, and target unit cost. For an electronic product, the design may also require power consumption targets, sensor accuracy, wireless performance, charging behavior, and firmware functions.
Requirements will evolve. That is normal. The discipline is to identify which requirements are essential and which are preferences. A prototype program can lose control when every preference is treated as a nonnegotiable engineering constraint.
4. Build the digital model before making parts
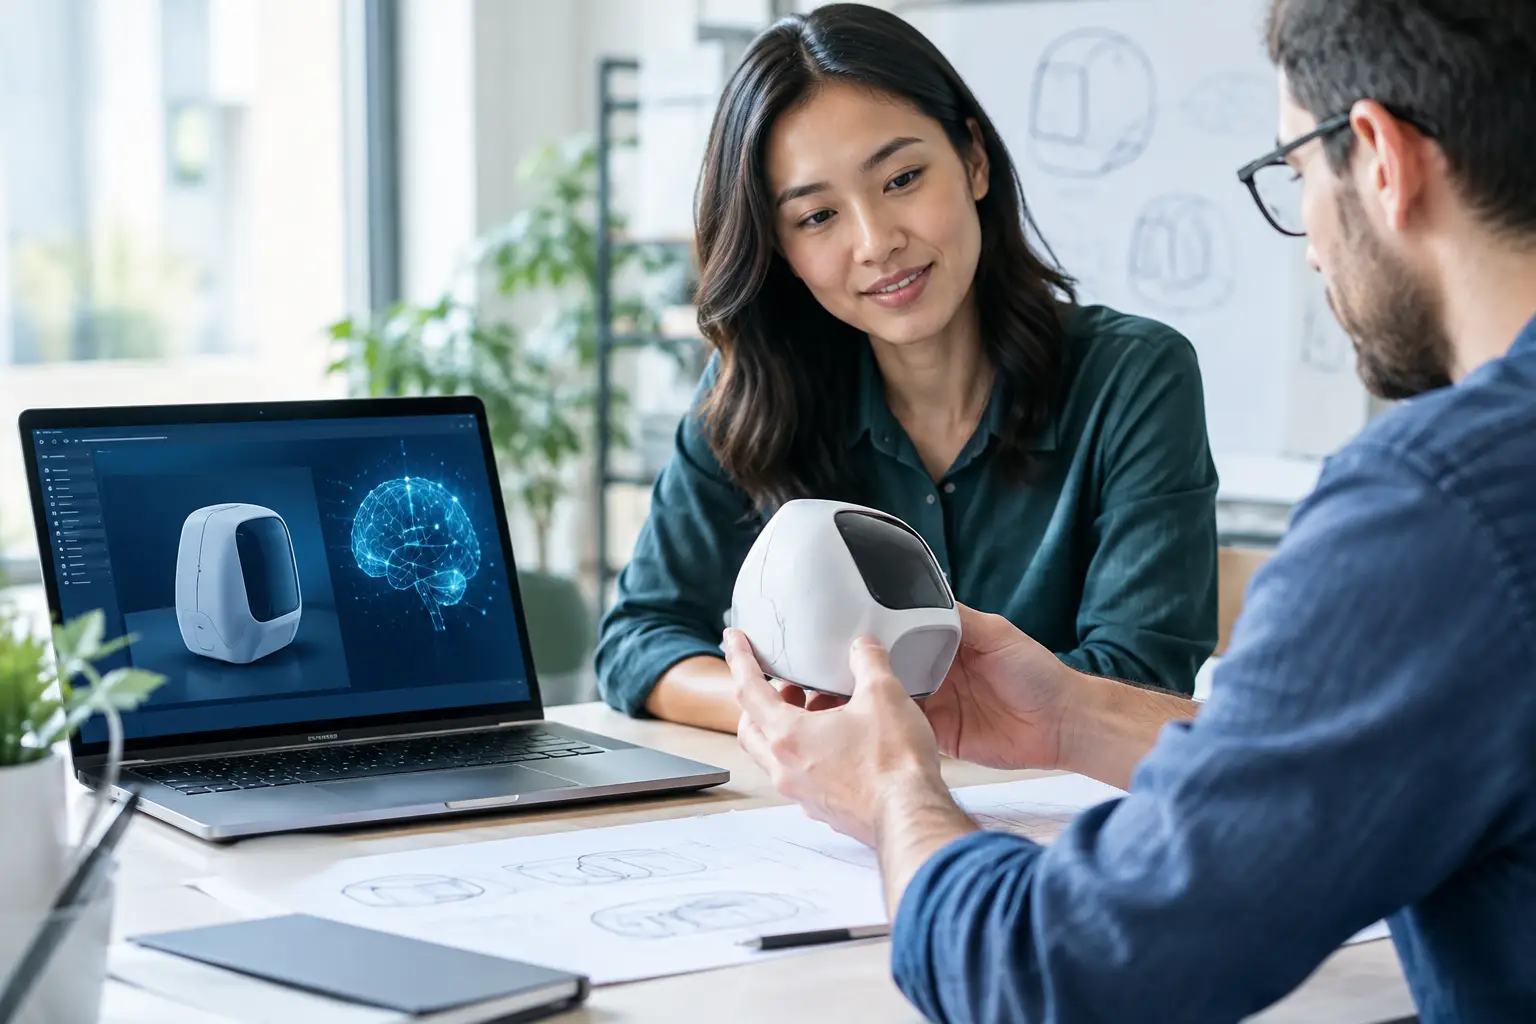
Computer-aided design, or CAD, turns the concept into a model that can be reviewed, measured, adjusted, and prepared for fabrication. This is where professional product development creates real leverage. A digital model reveals interference between parts, weak areas, awkward proportions, and assembly problems before materials are cut or printed.
Industrial design and engineering should work together here. An attractive form that cannot be molded, assembled, or serviced creates trouble later. A technically functional product that feels uncomfortable or confusing can fail just as quickly in the market.
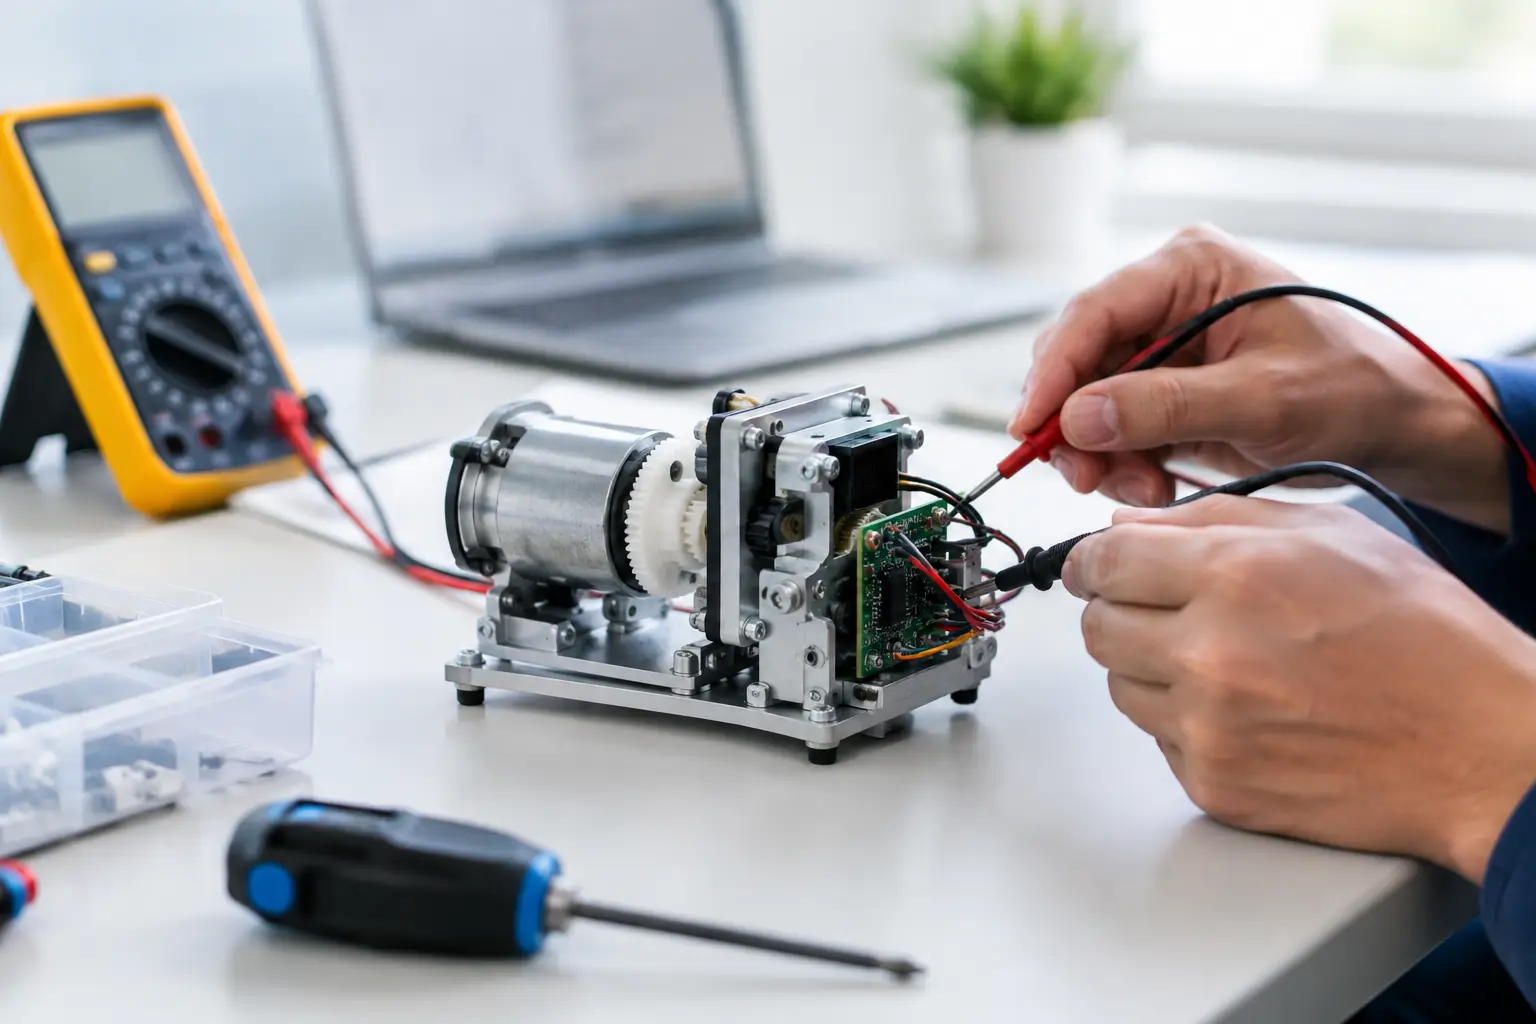
For complex inventions, engineers may use simulations or calculations to evaluate loads, heat, airflow, motion, or electrical behavior. Not every product needs advanced analysis. A simple consumer accessory may move quickly from CAD to a physical model, while a safety-critical or electromechanical product requires more validation before testing with users.
5. Choose the right prototype method
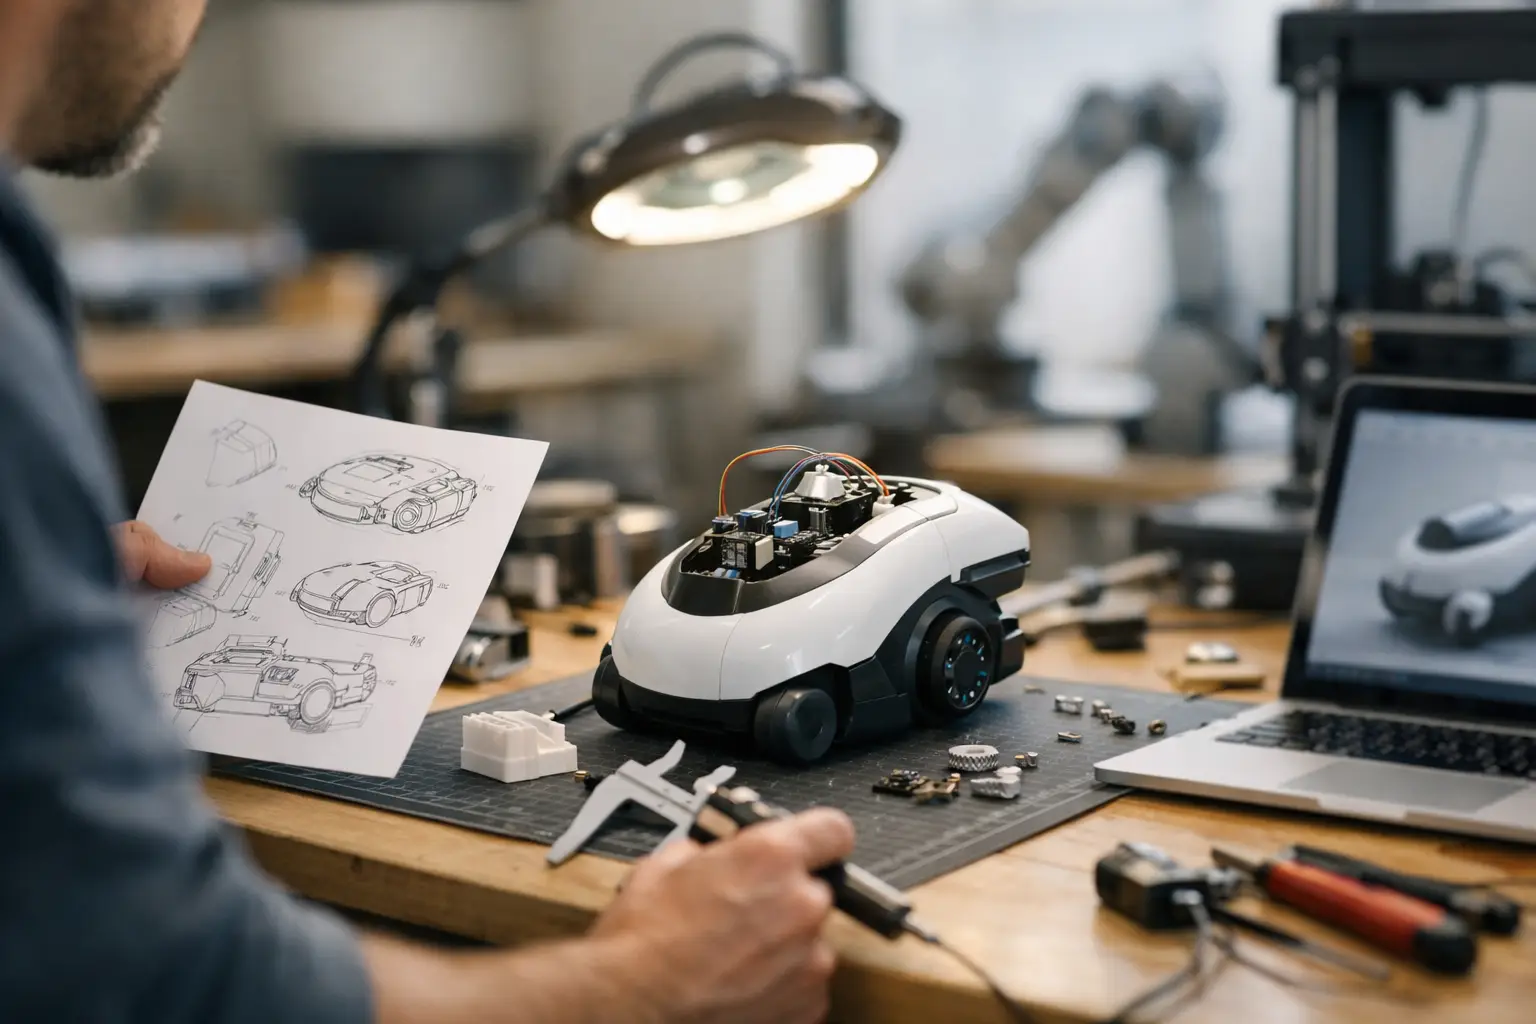
3D printing is fast and cost-effective for many housings, handles, clips, brackets, and early assemblies. CNC machining can provide stronger parts, tighter tolerances, and materials closer to a final product. Sheet metal, silicone casting, laser cutting, off-the-shelf components, and custom electronics may all have a place depending on the invention.
The trade-off is speed versus fidelity. A low-cost printed part may be enough to confirm geometry but not strength. A machined prototype may better represent performance but cost more and take longer. For electronics, a breadboard can validate a circuit concept, while a custom circuit board is usually needed to assess size, reliability, and manufacturability.
A good development partner does not default to the most expensive method. The question is always: what must this version prove, and what is the most efficient way to prove it?
6. Test it where it will actually be used
Bench testing is useful, but real conditions expose the issues that matter. Put the prototype in the hands of representative users whenever it is safe to do so. Watch rather than explain. If users need instructions to perform an obvious task, the product may need revision.
Test for repeated use, accidental misuse, comfort, setup time, cleaning, storage, and failure points. Record observations and measurements. A prototype that works once under ideal conditions has not yet earned confidence.
Focus feedback on behavior, not compliments. Ask users what they tried to do, where they hesitated, what felt difficult, and whether they would replace their current solution. This produces more useful information than asking whether they “like” the product.
Protect the Work While You Develop It
Inventors often worry that speaking to an engineer will expose their idea. Confidentiality matters, and a reputable development firm should use clear agreements and disciplined handling of client information. Still, protection requires more than a nondisclosure agreement.
Patent-oriented development means documenting the technical features that may support a filing, identifying alternatives, and avoiding a prototype that hides the invention’s true point of difference. A provisional patent application may be appropriate in some situations, particularly when you need to establish a filing date while continuing development. The right timing depends on the invention, your disclosure plans, budget, and advice from qualified patent counsel.
Avoid public demonstrations, crowdfunding campaigns, sales offers, and casual online disclosures before understanding the potential consequences. Public disclosure rules can be unforgiving, especially if international protection may matter.
Use Prototype Results to Plan Manufacturing
A functional prototype is not automatically ready for production. Production introduces tooling choices, supplier capabilities, assembly time, quality control, packaging, material sourcing, and unit economics. The design often needs refinement for manufacturing – sometimes called design for manufacturability – before it can be quoted accurately.
This is why an early prototype should generate more than excitement. It should produce a list of design changes, unresolved risks, and manufacturing assumptions. A simple checklist can keep the next stage focused:
- Which functions have been proven under real use?
- Which parts need redesign for strength, safety, or cost?
- What components are custom, and which can be sourced reliably?
- What manufacturing process fits the expected production volume?
- What must be completed before seeking quotes or funding?
Industry of Concepts helps clients connect these stages, from concept development and CAD through functional prototyping, engineering validation, manufacturing preparation, and patent-related support. That continuity matters because decisions made in a first prototype can shape cost, performance, and intellectual property options later.
Your invention does not need to arrive fully formed. It needs a clear problem, a disciplined plan, and a prototype built to answer the right questions. Start with the risk that could derail the product, then build the version that lets you face that risk with facts instead of assumptions.